n8n Workflow Automation: The Beginner’s Guide to Automate Workflows
Are you tired of tedious copy-pasting and wasting time moving data between your favorite apps? Imagine a world where your CRM automatically syncs with your spreadsheets, and your project updates post themselves to Slack. That world is made possible by n8n Workflow Automation.
This beginner-friendly guide breaks down exactly what n8n is and how you can use its powerful, visual interface to reclaim your time and boost efficiency.
What is n8n Workflow Automation? Your Digital Flowchart Automation
n8n (pronounced n-eight-n) is a “fair-code” workflow automation tool that lets different apps and services talk to each other automatically.
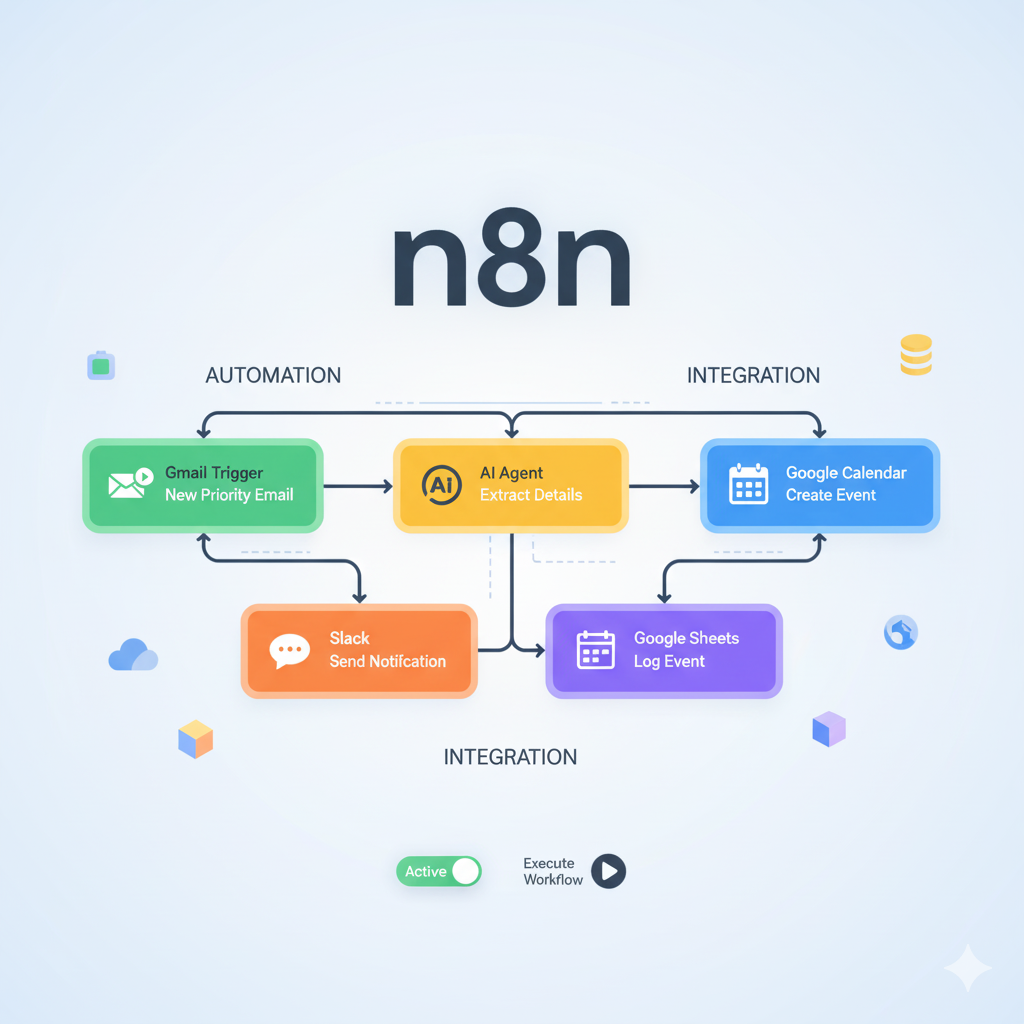
Think of it like creating a digital flowchart using a visual, drag-and-drop editor. Instead of writing complex code, you link together “nodes”—pre-built blocks that represent specific apps or actions.
- Key Benefit: It connects the apps you already use (like Google Sheets, Slack, Stripe, HubSpot, and hundreds more) to perform routine, predictable processes, freeing you up for more strategic work.
- Fair-Code: This means the source code is open for anyone to use and self-host, offering transparency and control over your data.
Why You Need n8n Workflow Automation for Your Business?
| The Problem (Manual Work) | The Solution (n8n Workflow) |
| Data Synchronization: Manually updating a spreadsheet after a sale closes in your CRM. | When a deal is marked “won” in HubSpot, n8n automatically updates the customer’s status in Google Sheets. |
| Lead Onboarding: Copying new form submissions into your database and sending a welcome email. | A new submission triggers a workflow that creates a user in your database, sends a SendGrid welcome email, and posts a notification in Slack. |
| Content Distribution: Copying blog links to every social media platform. | A new entry in your RSS Feed triggers n8n to format and post to LinkedIn, Twitter, and Facebook. |
n8n Cloud vs. Self-Hosted: Where to Start?
Before building your first workflow, you need to choose where your n8n instance will run.
1. n8n Cloud (Easiest Start)
This is the simplest, zero-maintenance option. The n8n team manages the servers, updates, and security.
- Best for: Beginners, marketers, or anyone who wants to start automating in minutes.
- Pro: Zero setup, automatic updates, and a generous free tier.
- Con: Your data is processed on n8n’s servers, and costs can grow with execution volume.
2. Self-Hosted n8n (Maximum Control)
You install and run n8n on your own server (often via Docker).
- Best for: Developers, tech-savvy users, or businesses with strict data privacy and data sovereignty requirements.
- Pro: Complete control over your data, predictable costs based on your server, and no vendor lock-in.
- Con: Requires a basic level of technical comfort for setup and ongoing maintenance.
How to Set Up Your n8n Account (Cloud, Local, or Docker)
Getting started with n8n is simple, and you can choose the setup that works best for your workflow automation needs. n8n can be used on the cloud, locally, or via Docker, depending on your preference and technical skills.
1. Set Up n8n on the Cloud (Fastest & Easiest Option)
The quickest way to start automating with n8n is to use n8n Cloud.
Just visit the official n8n website and create a free trial account.
No installation required — simply log in and start building workflows instantly.
2. Install n8n Locally via npm (Self-Hosted Option)
If you prefer to run n8n on your own machine, you can install it using npm.
This gives you full local control and is great for testing, development, and self-hosted workflows.
✔ Requirements:
- Node.js (LTS recommended)
- npm installed on your system
👉 Install n8n locally with a simple command:
npm install n8n -g
👉 Start n8n:
n8n start
This will launch n8n on your localhost, typically at: http://localhost:5678
This setup is popular among developers who want a lightweight automation environment without relying on the cloud.
3. Self-Host n8n with Docker (Most Stable & Scalable Setup)
If you want a more robust, production-ready environment, self-hosting n8n using Docker is highly recommended.
Docker ensures your n8n instance runs in an isolated and reliable container.
✔ Why choose Docker for n8n?
- Easy deployment
- Highly stable
- Perfect for long-running workflows
- Great for VPS, servers, and serious automation setups
👉 Step-by-Step Docker Setup
1. Install Docker Desktop
Download and install Docker Desktop for your operating system.
2. Pull the official n8n Docker image:
docker pull n8nio/n8n3. Run n8n using Docker:
docker run -it --rm \
  -p 5678:5678 \
  -v ~/.n8n:/home/node/.n8n \
  n8nio/n8n
You can now access n8n at: http://localhost:5678
This method is perfect for developers, teams, and businesses looking for a reliable automation server.
The Building Blocks: Understanding n8n Nodes
The core of every n8n automation is the node. They fall into three main categories:
1. Triggers (The Starter)
Every workflow starts with exactly one trigger. It’s the event that kicks off the automation.
Examples:
- Event-based: A new email arrives in Gmail, a form is submitted via Webhook.
- Schedule-based: The “Cron” node, set to run “Every Monday at 9 AM.”
2. Action Nodes (The Workhorses)
These nodes perform the actual tasks: sending data, reading records, or updating information.
- Examples: Sending a message with Slack, creating a row in Google Sheets, updating a record in Trello.
- Tip: If an app doesn’t have a dedicated node, you can use the generic HTTP Request node to connect to any REST API.
3. Core Logic Nodes (The Intelligence)
These nodes make your workflows smart by controlling the flow of data.
- IF Node: Splits the workflow into two paths based on a condition (e.g., IF the order value is $>1k, send an alert).
- Merge Node: Brings two separate paths of a workflow back together.
- Split in Batches Node: Breaks a large list of items into smaller groups to prevent hitting API rate limits.
Step-by-Step: Your First n8n Workflow Automation Example
Example: Send Yourself a Notification When a New Google Sheet Row Is Added
This is one of the easiest and most practical workflows for beginners.
What you will learn:
- What a Trigger node is
- What an Action node is
- How the workflow moves from start → end
Defining Problem to be addressed via n8n automation
You maintain a Google Sheet (for leads, tasks, billing, etc.).
You want to get notified whenever someone adds a new row.
Finding Solution to the problem Using n8n
Create an automation that:
- Detects a new Google Sheet row (Trigger)
- Sends you a notification/email (Action)
Step 1: Add Your First Node — The Trigger
Node: Google Sheets Trigger
This node “watches” your spreadsheet and starts the workflow whenever a new row is added.
What this node does:
- Keeps checking a sheet at intervals (5 min, 10 min, 1 hour, etc.)
- When a new row appears → the workflow starts automatically
Example:
A new lead is added:
| Field | Value |
|---|---|
| Name | John Doe |
| john@example.com | |
| Status | New |
When this row is added, the Google Sheets Trigger detects it and activates your workflow.
Step 2: Add Logic (Optional)
Sometimes you don’t want notifications for every single new row — only for specific ones.
For example:
👉 Only send a notification if the Status column equals “New”.
To do this, you insert an IF Node between the Trigger and the Notification node.
Where to place the IF Node:
Google Sheets Trigger → IF Node → Email/Slack Notification
How to configure the IF Node:
Inside the IF Node:
Field: Status
Operation: Equals
Value: New
What this means:
- If Status = “New” → workflow continues and sends a notification
- If Status ≠ “New” → workflow stops and does nothing
This ensures you are only alerted for new leads, not updates or old entries.
Step 3: Add Your Action Node — The Notification
Now add the node that will send you the alert.
Node Options:
- Email Send
- Slack
- Telegram
- Microsoft Teams
This node will send you a message containing the details of the new row.
Example message:
New entry added to Google Sheet:

Name: John Doe
Email: john@example.com
Status: New
Step 4: Connect the Nodes
Your final workflow structure should look like this:
Google Sheets Trigger
        ↓
IF (Status = New?)
        ↓ Yes
Email / Slack Notification
If the IF condition is not met, the workflow stops.
Pro Tips for n8n Beginners and Troubleshooting
- Always Check the Execution Log: If your workflow fails (a node turns red), the execution log is your best friend. It shows the exact data input and output for every single step and provides clear API error messages.
- Double-Check Credentials: If you get a
401 Unauthorizedor403 Forbiddenerror, it’s almost always an authentication issue. Go to the Credentials area and ensure your API key or OAuth connection is correct and has the necessary permissions.
- Embrace n8n Expressions: To become an automation power user, learn to format and transform data using the built-in JavaScript expressions within the
{{ }}brackets. This lets you manipulate data on the fly (e.g., splitting a name or formatting a date).
🎯 Next Steps: Start Automating Today
You now have a solid foundation in n8n workflow automation. The final step is to apply it to your own life.
Take a look at your daily routine. What is the most repetitive task you do? That’s the first thing you should automate.
If you get stuck, the n8n community forums are an active and supportive place to ask questions and discover new community templates.
Start building your first workflow and experience the power of automation!
What is the most repetitive task in your day right now? Would you like me to help you outline the n8n workflow for it? write in to us let us help you out.
You can also watch the below video to get more information:
Also Read: How to build Agentic AI? Basics of Agentic AI 2025?